How to Roast Chicken to Different Temps (Breast vs Thigh)
White meat and dark meat cook at different rates. Here's how to roast a whole chicken so the breast hits 160°F while thighs reach 175°F—without drying anything out.
Every home cook has been there: you pull a golden, gorgeous roast chicken from the oven, carve into it, and discover the breast is sawdust-dry while the thighs are still rubbery near the bone. The culprit? White meat and dark meat don't just taste different—they need different finishing temperatures. The USDA calls 165°F "safe" across the board, but anyone who's cooked a few birds knows that breasts are best around 155-160°F, while thighs and drumsticks shine at 175°F or higher. Here's how to roast a whole chicken so every part hits its ideal temp without compromise.
Why Chicken Breasts and Thighs Need Different Temperatures
Chicken breast is lean, pale, and made of fast-twitch muscle fibers. It cooks quickly and dries out past 165°F because there's very little fat or connective tissue to keep it moist. Most chefs and food scientists agree that pulling breast meat at 155-160°F—then letting it rest to carryover to 165°F—gives you the juiciest, most tender result.
Chicken thighs, drumsticks, and legs are a different story. Dark meat is loaded with collagen, connective tissue, and intramuscular fat. It needs to climb to 175-180°F for that collagen to break down into gelatin, giving you fall-off-the-bone texture and rich, savory flavor. If you pull dark meat at 165°F, it's technically safe but often tough and chewy.
The challenge with a whole roast chicken is that both types of meat are attached to the same carcass, cooking in the same oven at the same time. The breast sits high and exposed; the thighs nestle lower and take longer to heat through. If you wait for the thighs to hit 175°F, the breast will overshoot. If you pull the bird when the breast is perfect, the dark meat will disappoint.
The Classic Problem: Uneven Heat Distribution
On a whole chicken, the breast is the thickest single muscle, but it's also the most exposed to direct oven heat when the bird is roasted breast-up. The legs and thighs, tucked against the body or facing down, take longer to come up to temperature. This is why so many traditional recipes result in dry breast meat—by the time the probe in the thigh reads 165°F, the breast has been sitting at 170-175°F for ten or fifteen minutes.
Factors that make the problem worse:
- High oven temperature: Roasting at 450°F or higher can char the skin beautifully but accelerates moisture loss in the breast before the dark meat catches up.
- Starting with a cold bird: A chicken straight from the fridge takes longer to cook through, and the outside overcooks while the center lags.
- Trussing too tightly: Binding the legs close to the body insulates the thighs, slowing their cook time and widening the gap.
- Not using a probe thermometer: Relying on time alone is a gamble; every bird is slightly different in size, moisture, and starting temp.
Technique 1: Spatchcock (Butterfly) the Chicken
The single most effective way to roast a chicken with even temperatures is to spatchcock it. Remove the backbone with kitchen shears, flip the bird breast-up, and press down hard on the breastbone to flatten it. Now the entire chicken lies in one plane, with the thighs and breast at roughly the same distance from the heat source.
Spatchcocking cuts roasting time by about 25 percent and ensures the dark meat cooks faster because it's no longer shielded by the body cavity. The breast, meanwhile, isn't sitting upright like a target. You can roast a spatchcocked chicken at 425-450°F and typically hit 160°F in the breast and 175°F in the thigh within 40-50 minutes for a 4-pound bird.
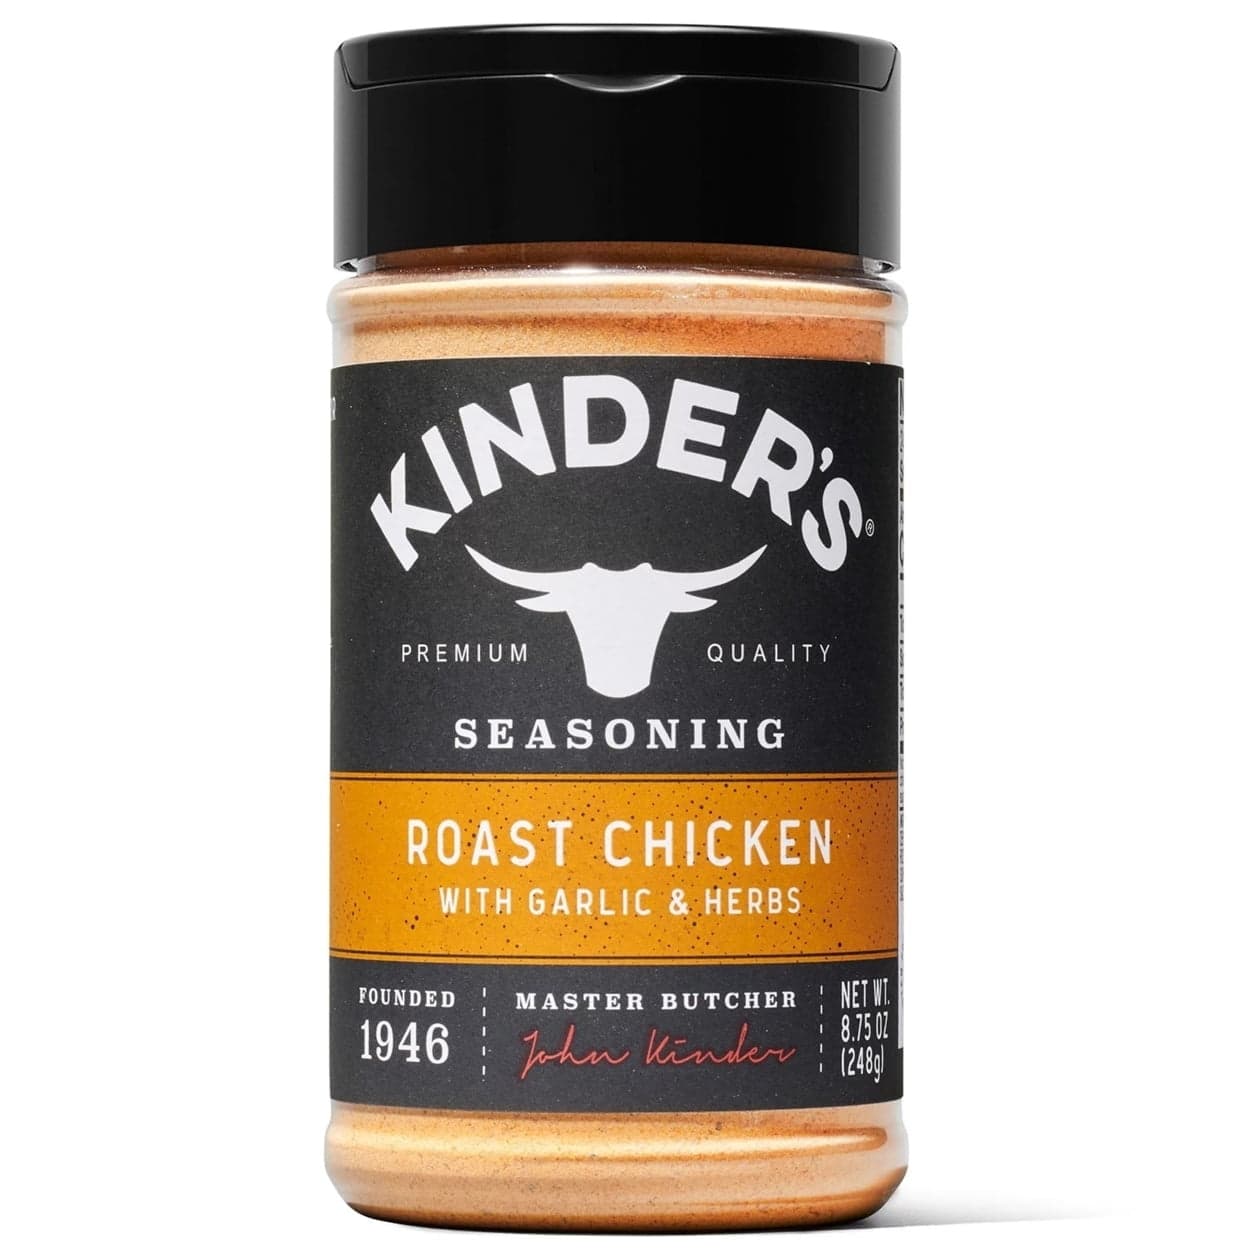
Bonus: the skin crisps evenly across the entire surface, and you can season every inch. Speaking of seasoning, this is where a bold, balanced rub makes all the difference. A mix like Kinder's Roast Chicken Garlic & Herbs is purpose-built for poultry, layering garlic, thyme, rosemary, and cracked pepper without overpowering the natural flavor of the meat. Rub it under and over the skin after spatchcocking, and you'll get crispy, herb-crusted skin and juicy, well-seasoned meat in every bite.
How to Spatchcock Step-by-Step
- Place the chicken breast-down on a cutting board.
- Use sharp kitchen shears to cut along one side of the backbone from tail to neck.
- Repeat on the other side and remove the backbone (save it for stock).
- Flip the chicken over and press down firmly on the breastbone until you hear a crack and the bird flattens.
- Tuck the wing tips behind the breasts to prevent burning.
- Season generously, then roast on a sheet pan or in a cast-iron skillet.
Technique 2: Start Breast-Down, Flip Halfway
If you want to keep the bird whole for presentation, try roasting it breast-down for the first half of cooking, then flipping it breast-up to finish. This method protects the delicate white meat from direct heat early on while allowing the thighs—now facing up—to absorb more radiant energy.
Start your oven at 425°F. Place the chicken breast-down in a roasting pan or on a wire rack over a sheet tray. Roast for 25-30 minutes, then carefully flip the bird breast-up using tongs or wadded paper towels (it will be hot and slippery). Continue roasting until a probe thermometer in the thickest part of the breast reads 155-160°F and the thigh reads 175°F, usually another 20-30 minutes depending on size.
The breast stays moist because it spends the first phase bathing in its own juices and shielded from the oven's top heat. The flip gives you that golden, crackling skin on the breast and legs in the final stretch. Just be prepared: flipping a hot, greasy chicken is a bit of a rodeo.
Technique 3: Ice or Foil Shield on the Breast
This is a trick borrowed from competition BBQ and Thanksgiving turkey roasting. Before the bird goes in the oven, lay a small ice pack or a bag of ice cubes on top of the breast for 10-15 minutes. The cold slows the cooking of the white meat, giving the dark meat a head start once everything hits the heat.
Alternatively, tent a piece of aluminum foil loosely over the breast for the first half of roasting, then remove it to let the skin brown. Both methods reduce the temperature differential, though they won't solve the problem entirely if you're roasting at very high heat.
This approach works best in the 375-400°F range, where the overall cook time is long enough for the thermal buffer to matter. Pair it with a seasoning that works across both white and dark meat—something with umami, a little sweetness, and enough salt to amplify flavor without a heavy hand. Momofuku Savory Seasoned Salt is ideal here: it's built by David Chang's team to boost savoriness with kombu, mushroom, and a hint of sweetness, giving your roast chicken that elusive restaurant-quality depth.
Technique 4: Reverse-Sear in Two Stages
Borrow a page from steak cookery: start the chicken low and slow, then blast it at high heat to crisp the skin. Roast at 275-300°F until the breast hits about 145°F and the thigh is around 160°F (this can take 60-90 minutes). Then crank the oven to 475-500°F and roast for another 8-12 minutes to brown and crisp the skin.
The low-and-slow phase allows heat to penetrate evenly, minimizing the gap between white and dark meat. The high-heat finish renders the fat under the skin and creates that crackling, mahogany crust everyone loves. You'll need to monitor temps closely with a leave-in probe thermometer, but the payoff is a bird that's juicy throughout with professional-grade skin.
Technique 5: Separate the Pieces Before Roasting
Sometimes the best answer is the simplest: don't roast the chicken whole. Break it down into breasts, thighs, drumsticks, and wings, then roast each part to its ideal temperature.
- Breasts: Roast at 400°F for 20-25 minutes to an internal temp of 155-160°F.
- Thighs and drumsticks: Roast at 425°F for 35-45 minutes to 175-180°F.
- Wings: Roast at 425-450°F for 40-45 minutes, flipping halfway, until golden and crispy.
Breaking down the bird gives you total control and lets you apply different seasonings or marinades to each cut. You can go bold and spicy on the thighs with something like Kinder's Whiskey Peppercorn Seasoning, which brings bourbon-barrel smoke, cracked black pepper, and a hint of sweetness that loves dark meat's richness. Keep the breasts simple with olive oil, salt, and herbs, and suddenly you've got a dinner that pleases everyone at the table.
This approach also makes weeknight cooking faster. You can roast just thighs or just breasts, cutting cook time and simplifying sides.
Temperature Targets: The Numbers That Matter
Here's your cheat sheet for doneness:
- Chicken breast: 155-160°F (will carryover to 165°F during rest)
- Chicken thighs and drumsticks: 175-180°F for tender, gelatinous texture
- Wings: 175°F minimum; they're almost all dark meat and skin
- Resting time: 10-15 minutes under foil; internal temps will climb 5-10 degrees
Invest in a reliable instant-read thermometer (Thermapen or Thermopop are gold standards) or a leave-in probe thermometer if you're doing low-and-slow. Guessing temps by look or feel is a recipe for inconsistency.
Common Mistakes and How to Avoid Them
Mistake 1: Trusting the pop-up timer. Those little plastic indicators are set to trigger around 180°F, which is safe but way too high for breast meat. Toss it and use a real thermometer.
Mistake 2: Not letting the bird rest. Slicing into a chicken straight out of the oven lets all the juices run onto the cutting board. Rest for at least 10 minutes, tented with foil, so the muscle fibers relax and reabsorb moisture.
Mistake 3: Over-trussing. Tying the legs tight against the body looks tidy, but it insulates the thighs and extends cook time. Leave a little space between the legs and breast, or skip trussing entirely if you're spatchcocking.
Mistake 4: Skipping the dry brine. Salting the chicken 12-24 hours ahead (uncovered in the fridge) seasons the meat deeply and dries out the skin for maximum crispness. It also helps the proteins retain moisture during cooking, giving you a little more wiggle room on temps.
Mistake 5: Roasting straight from the fridge. Let the bird sit at room temperature for 30-45 minutes before it goes in the oven. This reduces the core-to-surface temperature gap and promotes more even cooking.
The Role of Seasoning in Multi-Temp Roasting
When you're juggling different target temperatures, seasoning becomes even more important. A great rub or spice blend does more than add flavor—it forms a crust that protects the meat from drying out and helps the skin render fat and crisp up.
For a classic roast chicken that works across all cuts, look for seasonings with a balance of salt, aromatics, and a little sweetness or umami. Garlic, herbs, black pepper, and a hint of onion or butter flavor are timeless. If you want to branch out, try a seasoning with a subtle smoke or caramelized-onion note—it complements both white and dark meat without overwhelming the bird's natural flavor.
If you're breaking the chicken into parts and roasting separately, you can get creative. Go Mediterranean on the breasts with lemon, oregano, and garlic. Hit the thighs with a sweet-and-savory rub that can handle higher heat and longer cook times. The versatility of a well-stocked spice cabinet is your best friend when you're chasing different temps on different cuts.
Should You Brine or Not?
Wet brining (submerging the chicken in salted water for several hours) can help the breast retain moisture, but it also adds time and fridge space, and some cooks find it makes the skin less crispy. Dry brining—rubbing the bird with salt and letting it sit uncovered—gives you most of the moisture benefits with better skin texture.
If you're spatchcocking or using the flip method, a dry brine the night before is a smart move. It seasons the meat all the way through and gives you that restaurant-quality, slightly translucent skin that crisps beautifully. Just pat the bird dry, hit it with kosher salt (about 1 teaspoon per pound), and leave it uncovered on a rack in the fridge. The next day, add your spices and roast.
What About Rotisserie-Style Cooking?
If you have a rotisserie attachment on your grill or oven, that constant rotation helps even out hot spots and bastes the bird in its own drippings. Rotisserie chickens typically roast breast-up and benefit from the gentle, indirect heat and the self-basting action. You'll still want to monitor temps in both breast and thigh, but the rotating motion narrows the gap considerably.
Set your grill or oven to medium heat (around 350-375°F), secure the bird on the spit, and let it spin for 60-75 minutes, checking temps every 15 minutes toward the end. The result is incredibly moist meat and 360-degree crispy skin.
Carryover Cooking: Your Secret Weapon
Here's a pro tip that applies to all meat, but especially chicken: pull the bird out of the oven 5-10 degrees before your target temp. The internal temperature will continue to rise as the meat rests, a phenomenon called carryover cooking.
For chicken breast, that means pulling it at 155°F and letting it coast to 160-165°F. For thighs, pull at 170°F and let them climb to 175-180°F. This habit alone will prevent more overcooked breasts than any other technique.
Putting It All Together: A Simple Game Plan
If you want to roast a whole chicken and hit different temps for breast and thigh, here's the most foolproof approach for a weeknight dinner:
- Spatchcock the bird the morning of (or the night before) and dry-brine with kosher salt.
- Pull it from the fridge 30 minutes before cooking and pat completely dry.
- Season generously with a poultry-friendly rub like Kinder's Roast Chicken Garlic & Herbs under and over the skin.
- Roast at 425°F on a sheet pan or in a cast-iron skillet, skin-side up, for 40-50 minutes.
- Check temps with an instant-read thermometer: 155-160°F in the thickest part of the breast, 175°F in the thigh.
- Rest under foil for 10-15 minutes, then carve and serve.
This method delivers crispy skin, juicy breast, and fall-apart thighs without any flipping, tenting, or fussing. It's fast enough for a Tuesday night and impressive enough for company.
Final Thoughts
Roasting a chicken so that every part hits its ideal temperature isn't about expensive equipment or culinary school secrets. It's about understanding the anatomy of the bird, managing heat intelligently, and using a thermometer instead of a timer. Whether you spatchcock, flip, shield, or break down the chicken entirely, the goal is the same: white meat that's tender and juicy, dark meat that's rich and succulent, and skin that shatters when you bite into it.
Once you nail the technique, seasoning becomes your signature. A great rub or spice blend turns a simple roast chicken into a weeknight win or a dinner-party showstopper. Experiment, take notes, and don't be afraid to pull the bird a little early—carryover cooking is real, and resting is non-negotiable.
Ready to roast your best chicken yet? Stock up on the seasonings that make every bite worth it, grab a reliable thermometer, and get that oven preheating. Your perfectly cooked, never-dry roast chicken is waiting.
Shop the products mentioned in this article
Free shipping on every order. No minimums, no gimmicks.